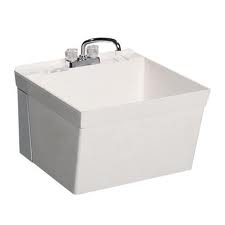
Wall mount utility sinks are a good option for laundry rooms, mud rooms, and bathrooms because they provide both function and style.
There is an array of designs and finishes that consumers can choose from, so anybody is sure to find one that looks best for their home.
Utility Sink Installation
The next step to buying a utility sink mounted on the wall is the installation process.
This task is very simple with the following steps:

Get The Materials You Need
In installing wall mount utility sinks, the first step is to prepare the materials: the wall-mounted sink and its components, a faucet, 2 water supply hoses, a pair of channel lock pliers, a crescent wrench, a power drill, a drain kit and p-trap kit, plumber’s putty, a torpedo level, a pencil, screws, and a tube of tub or tile caulk.
With a pencil, mark a spot on the wall where you want to put the sink. Use a torpedo level for a more accurate positioning of the marks. When done marking, you may now mount the bracket for the sink on the wall using a power drill and screws.
Attach the faucet to the sink, and with the channel locks and crescent wrench, connect the supply hoses. Use the channel locks to attach the drain and tail piece to the sink.
Apply plumber’s putty to the lip of the drain flange before putting it through the hole of the sink. The flange lip is the silver part of the drain sink where the stopper sits in. The putty will prevent water leakage and damage.
When done, you can now hang the wall mount sink on the bracket pre-installed on the wall. Use the torpedo level to make sure that the sink is not slanted. Afterwards, connect the water supply hoses to the stop handles. Use a crescent wrench for easier operation.
Connect the p-trap to the tail piece of the drain. The p-trap is a u-shaped pipe found under the sink. If it is short, use an extra pipe to connect the two parts. Apply caulking around the edges of the sink touching the wall. Press the caulk to the groves using your finger, and remove excess caulking using a wet rag or moist sponge.
Once you have tackled this project and seen that is not all that difficult to do you may start thinking about installing a wall mount faucet in your kitchen.
Once you have become proficient at all of this plumbing projects stuff and people find out about it, it most likely won’t be too long before your skills are in demand for more intensive projects such as installing handicapped showers for the elderly and disabled folks who need them.

