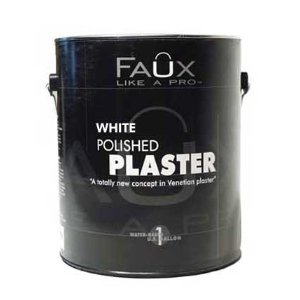
Polished Plaster can be expensive, but the results are worth the investment if you apply it correctly.
Polished plaster creates an elegant and stylish look to any wall, ceiling or floor.
If you wish to bring home the stunning design and depth of polished plaster or Venetian plaster to your walls without the huge cost of hiring a professional, then a DIY project might be a good idea.
With polished plaster, you do not have to worry about imperfections on the walls, nor discolorations and cracks. It is the perfect home project since it does not involve very complicated techniques and complex tools.
Tools Needed for Applying Polished Plaster
What you need is a small putty knife and a high grade trowel for your main tools and a plaster mixture. A plaster mixture includes aged lime putty, some marble powders and earth oxides as colorants. Some colorants, sandpaper and protective wax may also be used, depending on the effect you wish to achieve.
· Preparation Tips for Polished Plaster
Wall preparation is a fundamental step in applying polished plaster. Clean the walls and remove dust, oil, dirt or moisture. Tape the moulding and corners to create clean lines around the plaster. Mask other fixtures on the walls, such as mirrors, outlets and sockets.
· First Application
Apply the first layer of plaster using a putty knife or small trowel. Since several layers will be applied to create the appearance of depth and movement in the design, applications must be slightly thin. Smooth the first layer with a large trowel and then let it dry for at least 4 hours or until the plaster dries completely.
· Second Application
Once the first coat has dried, apply the second coat of plaster using a putty knife or small trowel. Work in X-shaped motions to create a textured effect, which will define the design of the wall. Once again, let the plaster dry completely.
· Final Application
Apply the final layer of plaster using a large trowel. A thin layer of plaster should be applied in the final layer and smoothen it with the trowel. Let the plaster dry completely and ready for sanding.
· Burnishing
To achieve a polished and shiny look, use a hand sander and 100-grit sandpaper. Sand the wall in a vertical motion using very light touch. This process should result in a polished coat.
Do consider that some types of Venetian plaster will dry in a lighter shade. Test the plaster first on a small cut-out board to find out. If you feel less confident in applying plaster directly on the wall at first try, practice beforehand on the board. This way, you can experiment on the technique you want to use or decide on the texture to create on the walls. For an extra layer of protection, you may also apply wax after the final coat.

